
How to integrate MyInvois portal to your Works25 system.
Step 1: Setting Up MyInvois Portal
Open your browser, and go to:
mytax.hasil.gov.my
Login into MyTax.
Please register if you have not used MyTax before. Click e-Daftar to register.
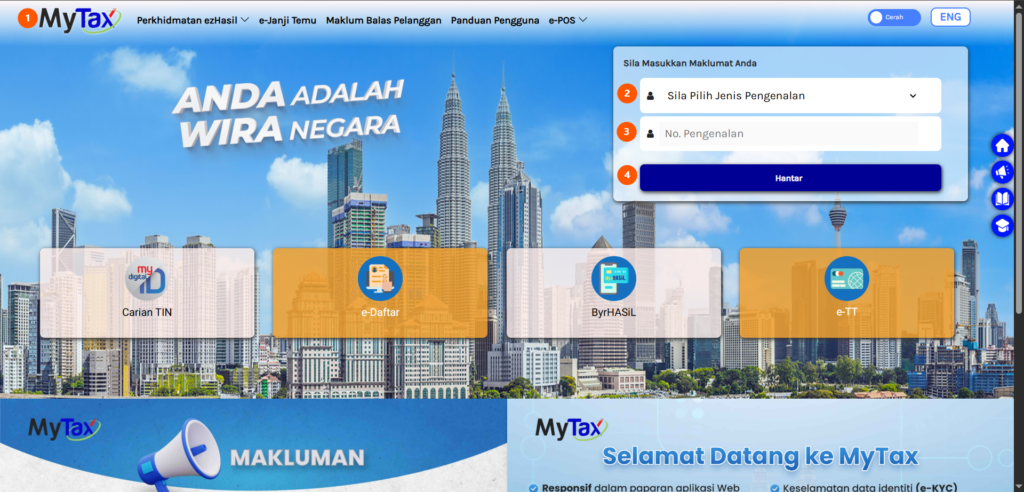
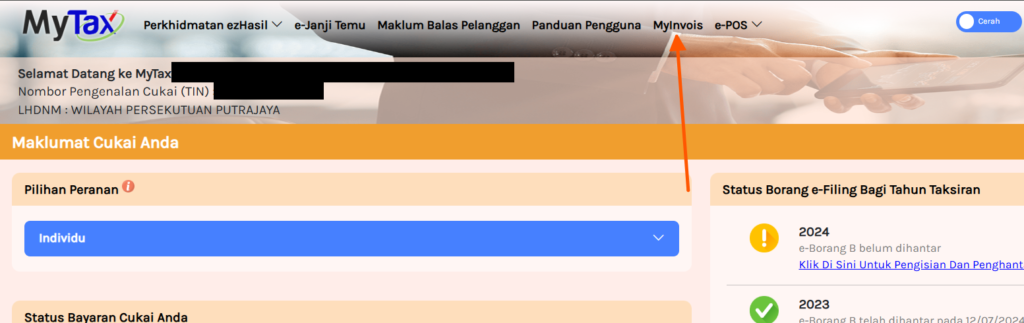
Click MyInvois on the top navigation bar.
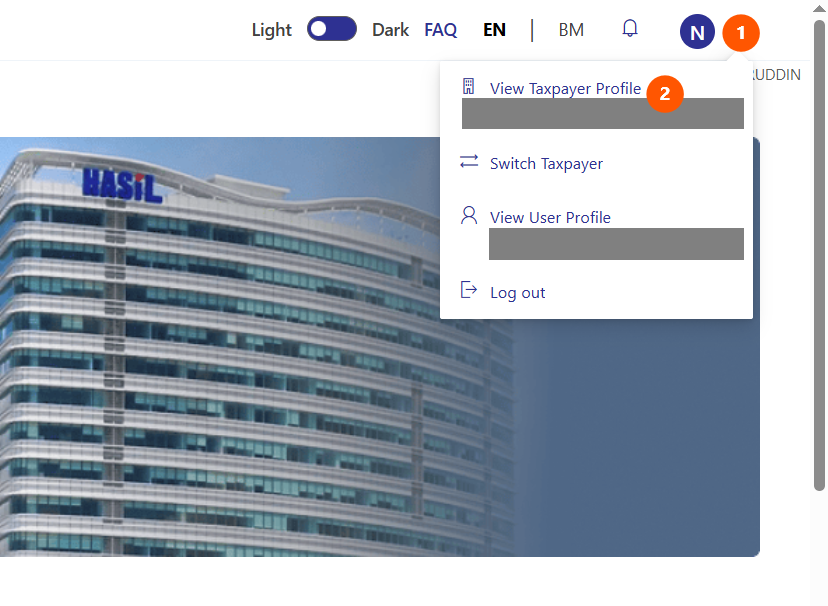
On the top right corner of the page, click on your name.
Then, click View Taxpayer Profile.
If you wish to change taxpayer, click Switch Taxpayer.
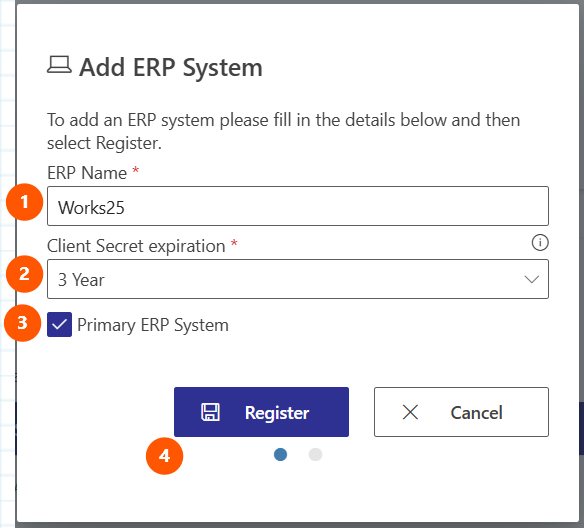
Click Register ERP
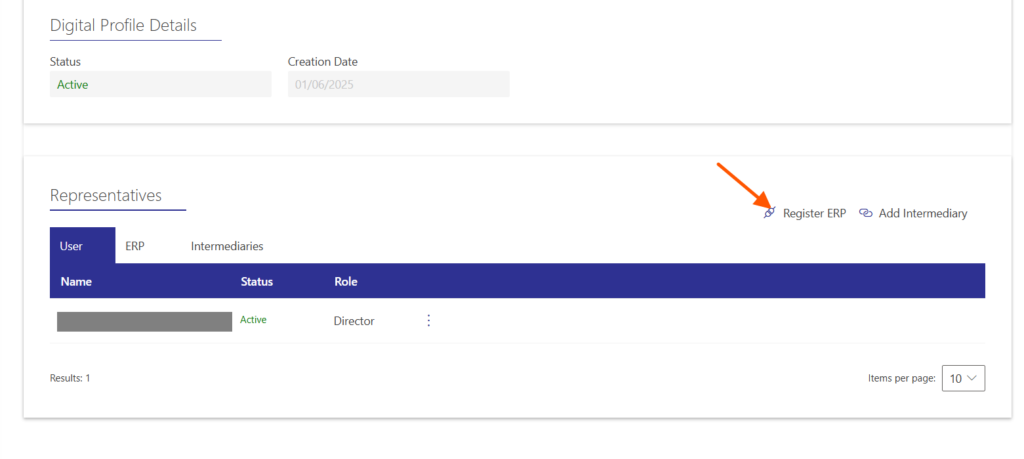
- Type in Works25 as the ERP Name
- Choose 3 years as the Client Secret Expiration
- Tick Primary ERP System
- Click Register
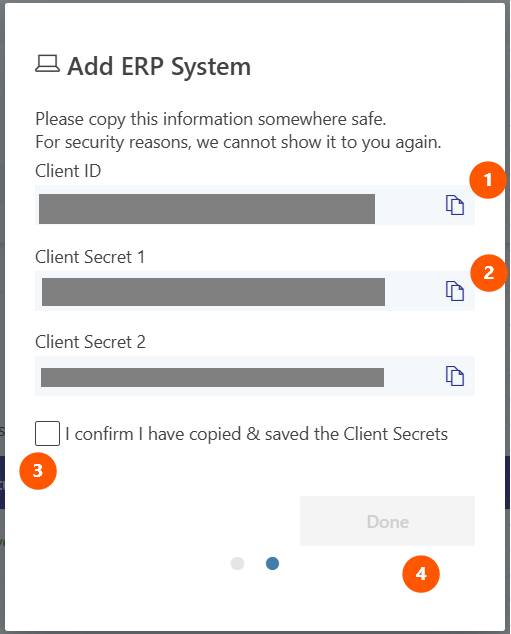
This is the important part.
Copy the Client ID, and Client Secret 1, and save them onto a note file.
Open a note file, or anywhere you can store this information.
We will use these credentials later in Works25 system.
- Click the copy icon to copy the Client ID. Paste it onto the note file.
- Click the copy icon to copy the Client Secret 1. Paste it onto the note file.
- Tick I confirm…
- Click Done.
Step 2: Setting Up the Integration in Works25 System
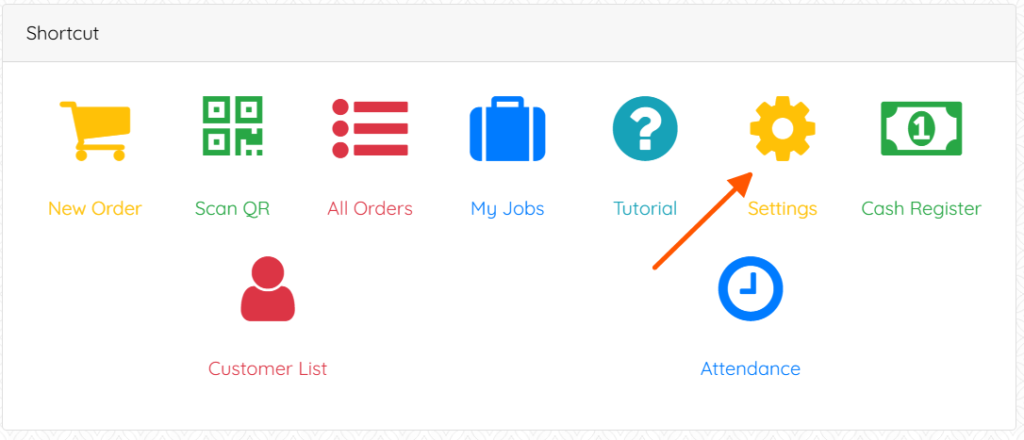
Login into your Works25 system, Go to Dashboard > Settings.

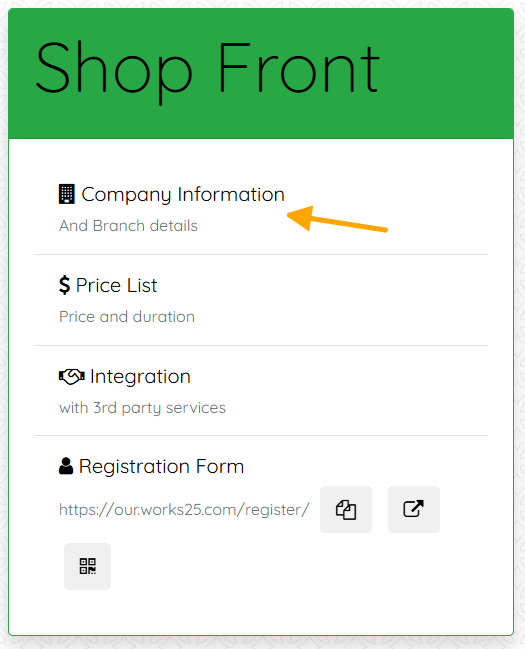
In the green Shop Front box, click on Integration.

- Click Add An Integration
- Choose Malaysia E-Invoice Integration

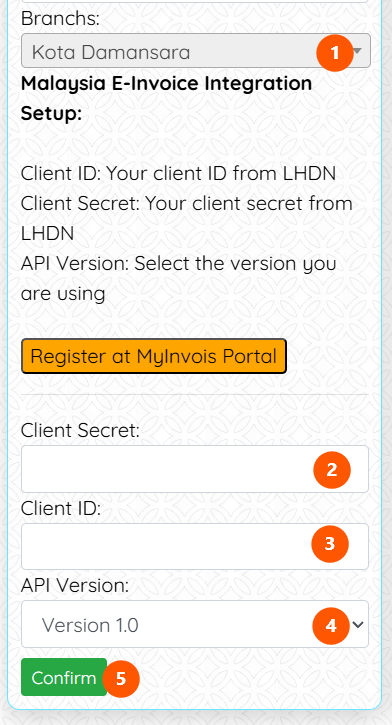
- Choose the appropriate branch (If applicable).
- Fill in the Client Secret copied from MyInvois portal.
- Fill in the Client ID copied from MyInvois portal.
- API Version should be Version 1.0.
- Confirm.
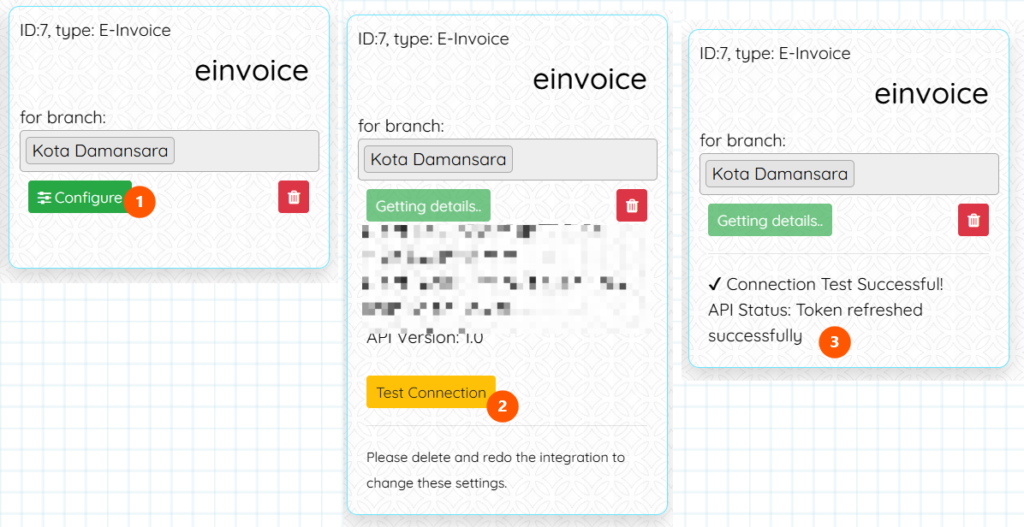
Now lets test the connection.
- Click Configure
- Click Test Connection
- Connection Test is successful.
Step 3: Setting Up your Company Details
Login into your Works25 system, and go to Dashboard > Settings.
Click on Company Information
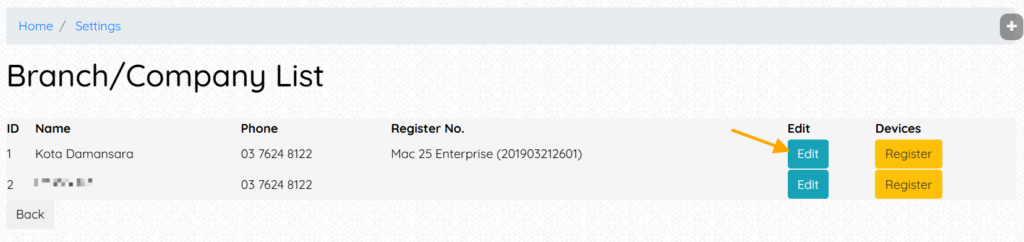
Click Edit.
Click on the blue button E-Invoicing
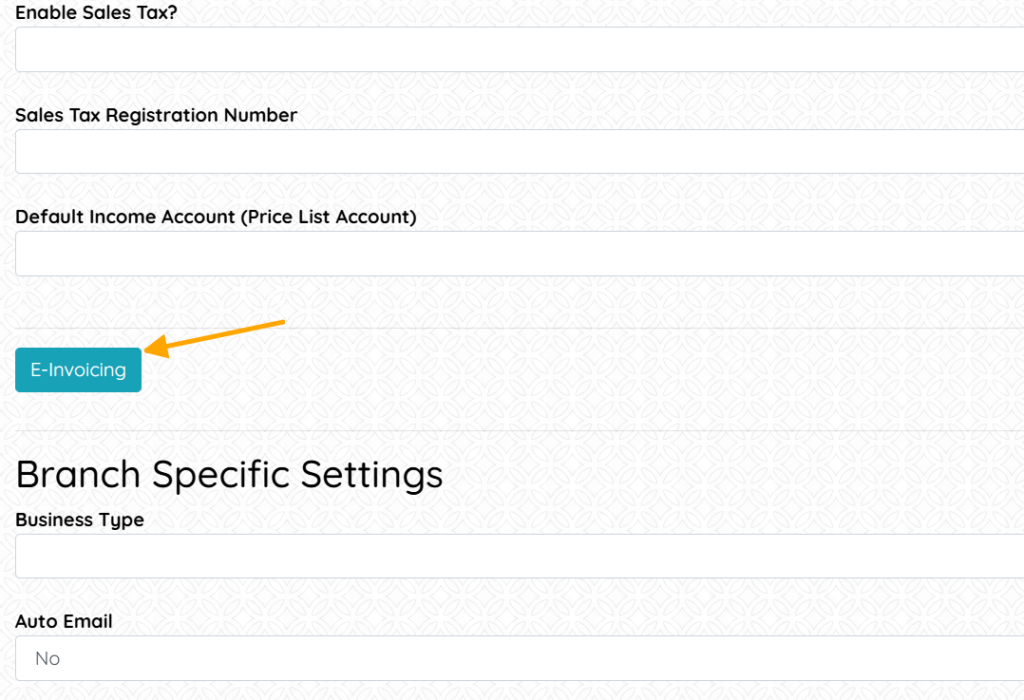
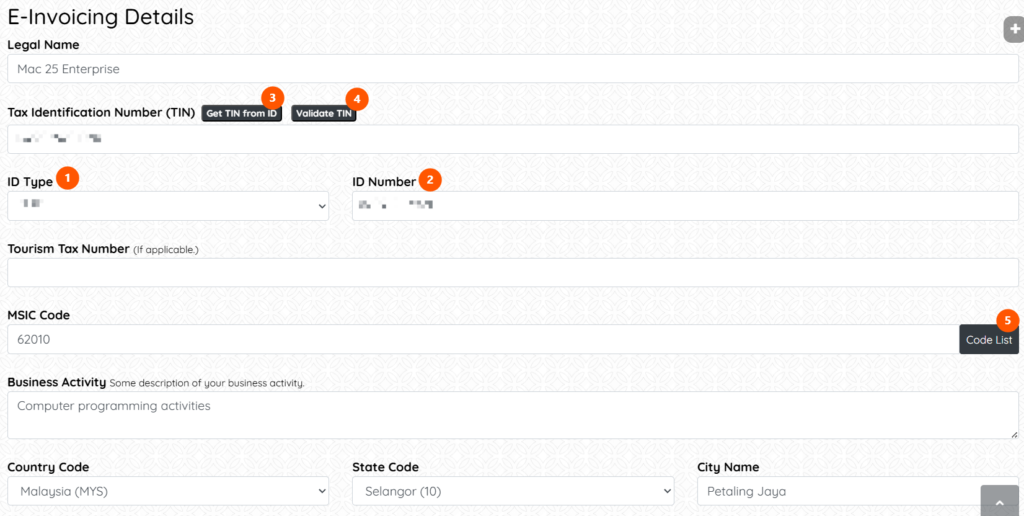
Fill in all the inputs. The tourism tax is optional. All others are required.
To get your TIN:
- Choose ID Type
For Sdn Bhd Company, choose BRN.
For Enterprise and Sole Prop, choose NRIC. - Fill in the ID Number (the NRIC or BRN Number)
- Click Get Tin from ID
- Click Validate TIN
Then, choose your MSIC Code. Click Code List to see all available codes.
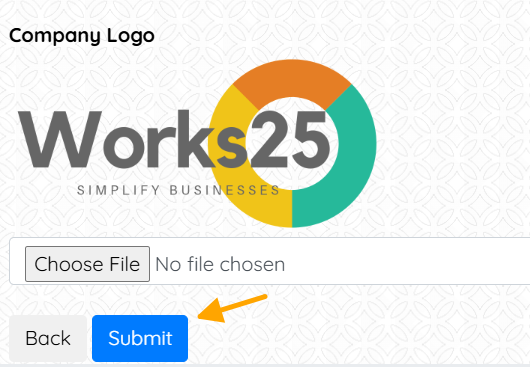
Then, scroll down, and click Submit.
Now your Works25 system is ready to send E-Invoice. Go to All Orders > Orders, and click on E-Invoice to start reporting E-Invoice.
Further guide on E-Invoice usage will be available soon